Lighting is the backbone of every great shot, and filmmakers know how challenging it can be to balance exposure, mood, and realism on set. Studiovity filmlight Pro is designed to take the guesswork out of film lighting, giving creators a precise, AI-enabled tool to plan and execute their setups. Whether you’re an indie filmmaker, cinematographer, or student, filmlight Pro helps you light with confidence and efficiency.
Key Features of Filmlight Pro
Ambient Control
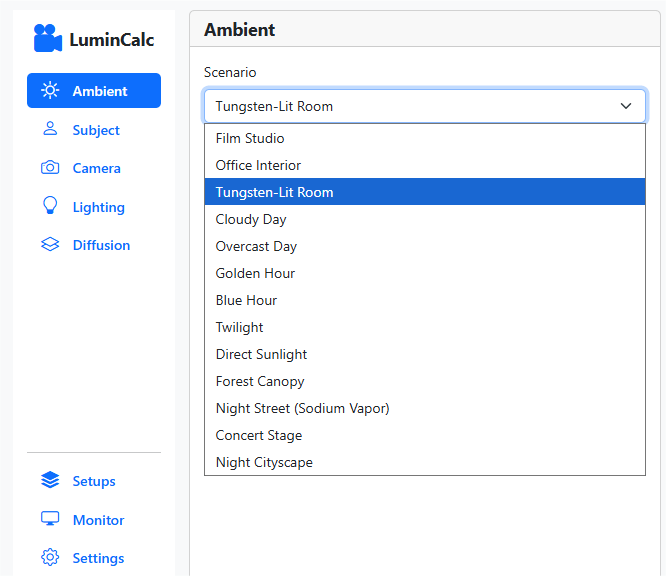
The Ambient feature in Filmlight Pro lets you simulate the existing light in a scene. By selecting a scenario from a list, such as “Film Studio” or “Tungsten-Lit Room,” the software automatically sets the appropriate ambient light levels, measured in Illuminance (lx).
Subject Material

Different materials reflect light differently. With this feature, you can calculate how grass, skin tones, or surfaces interact with lighting, ensuring consistent visual texture across scenes.
Camera Setting

The Camera section in filmlight Pro allows you to match your lighting setup with your camera’s technical specifications. This ensures accurate exposure, realistic rendering, and a cinematic look. Below is a breakdown of each option:
1. Sensor Size
Choose your camera’s sensor type (e.g., Full Frame, Super 35). The sensor size affects the field of view and exposure calculations.
2. ISO
Set your camera’s ISO value. Higher ISO increases sensitivity to light but may add noise. This setting helps filmlight Pro calculate the correct lighting levels for clean shots.
3. FPS (Frames Per Second)
Define the frame rate you’re shooting at (e.g., 24 fps for cinematic look). Frame rate influences shutter speed and motion blur.
4. T-stop
Enter the lens’s T-stop value. Unlike f-stops, T-stops account for actual light transmission, giving precise exposure values for professional cinematography.
5. Camera Inputs (ND Filter)
Add Neutral Density (ND) filter values if used. ND filters reduce light entering the lens without affecting color, allowing creative depth of field even in bright conditions.
6. +/- EV (Exposure Value Compensation)
Adjust for intentional overexposure or underexposure. This helps fine-tune brightness while preserving artistic intent.
7. Shutter Setting
- Angle Mode: Set shutter angle (commonly 180° for natural motion blur).
- Speed Mode: Switch to shutter speed (e.g., 1/48s, 1/60s).
8. Shutter Angle
When in Angle mode, choose the shutter angle value. A wider angle increases motion blur, while a smaller angle gives a sharper, staccato effect.
Lighting

Plan your key, fill, and background lights with precision. The tool suggests the right intensity and placement for professional-grade cinematography. Adjust the Lighting fixtures, lighting modifier and the power of light source. also yoou can select the diameter of beam source.
Diffusion

The “Diffusion” feature in Filmlight Pro lets cinematographers simulate how various materials affect light. By selecting a material, the software calculates the resulting light softness and Stop Loss, helping filmmakers accurately plan their lighting and exposure before shooting.
With Studiovity filmlight Pro, filmmakers can replace guesswork with science, speed, and creativity—bringing stories to life with professional lighting setups every time.


